In WordPress, a “post” is a type of content used for creating and publishing articles, blog entries, news updates, or any other time-sensitive information. Posts are typically displayed in reverse chronological order on a website’s blog page or feed, making it easy for visitors to see the latest updates first. Each post can include text, images, videos, and other multimedia content, along with categories and tags to help organize and categorize the information. WordPress offers a user-friendly interface for creating, editing, and managing posts, making it a popular choice for bloggers and content creators. Please take a moment to read our tutorial below on adding a new post in WordPress.
How to add a new post in WordPress?
- Log in to your WordPress Dashboard: Go to your WordPress website’s admin area and log in with your username and password.
- Access the “Posts” Section: Once logged in, you’ll be on the WordPress Dashboard. Look for the “Posts” option on the left-hand menu and click on it. This will open the Posts screen, where you can see all your existing posts.
- Click on “Add New”: On the Posts screen, you’ll find an “Add New” button at the top of the page. Click on it to start creating a new post.
- Enter the Post Title: In the post editor, you’ll see a field for the post title at the top of the page. Enter the title for your new post here.
- Write Your Content: Below the title field, you’ll find a larger text area where you can write the content of your post. Use the formatting toolbar to style your text, add links, insert media, and more.
- Add Media: To insert images, videos, or other media into your post, click on the “Add Media” button above the text editor. You can upload files from your computer or select existing media from your WordPress media library.
- Set Categories and Tags: On the right-hand side of the post editor, you’ll find sections for Categories and Tags. Categories help organize your posts into different topics or sections on your website, while tags provide more specific keywords related to your post content. Choose appropriate categories and add relevant tags to your post.
- Preview and Publish: Once you’ve finished writing your post, you can preview how it will look on your website by clicking the “Preview” button. If everything looks good, click the “Publish” button to make your post live on your website. If you’re not ready to publish yet, you can save it as a draft or schedule it for later publication using the options provided.
Your new post is now live on your WordPress website for your audience to read and enjoy.
Adding post to WordPress content
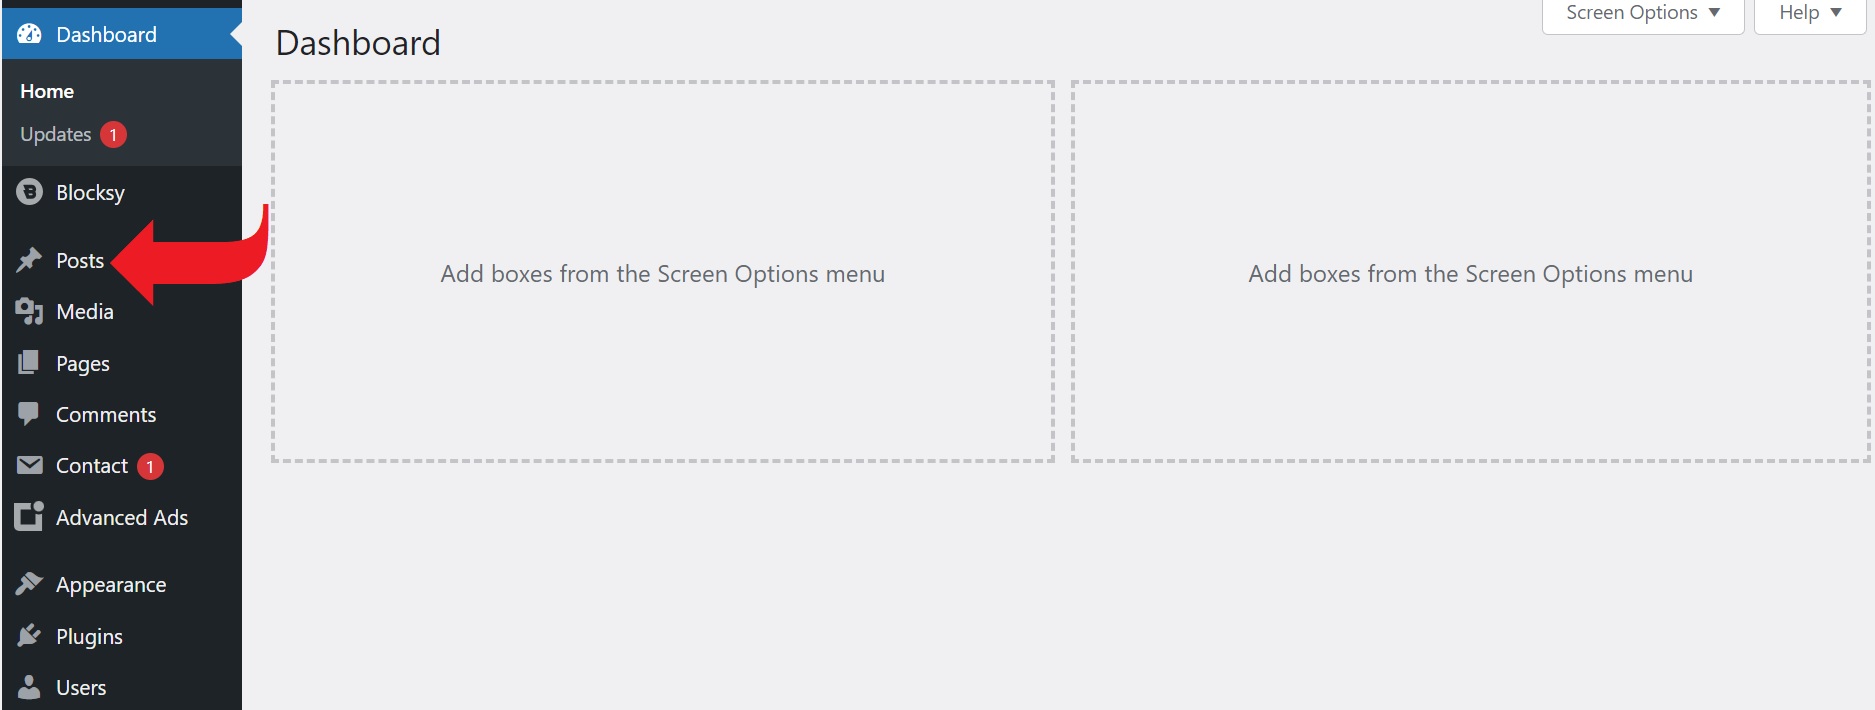
Image by: wordpresstrix.com