In WordPress, menus are essential tools for organizing and navigating your website’s content. A menu is a collection of links that guide visitors to different pages, categories, or custom links within your site. It serves as a roadmap, allowing users to easily find and access the various sections of your website. Please take a moment to read our tutorial below on menu creation, and how to add or edit a menu in WordPress.
With WordPress’s intuitive menu editor, creating and managing menus is a straightforward process. You can easily add, remove, and rearrange menu items, as well as create multi-level dropdown menus for more complex site structures.
In this step-by-step tutorial, we’ll explore how to create, customize, and manage menus in WordPress, empowering you to optimize navigation for your website visitors.
How to create a menu in WordPress?
- Access the WordPress Dashboard: Log in to your WordPress website and navigate to the admin dashboard.
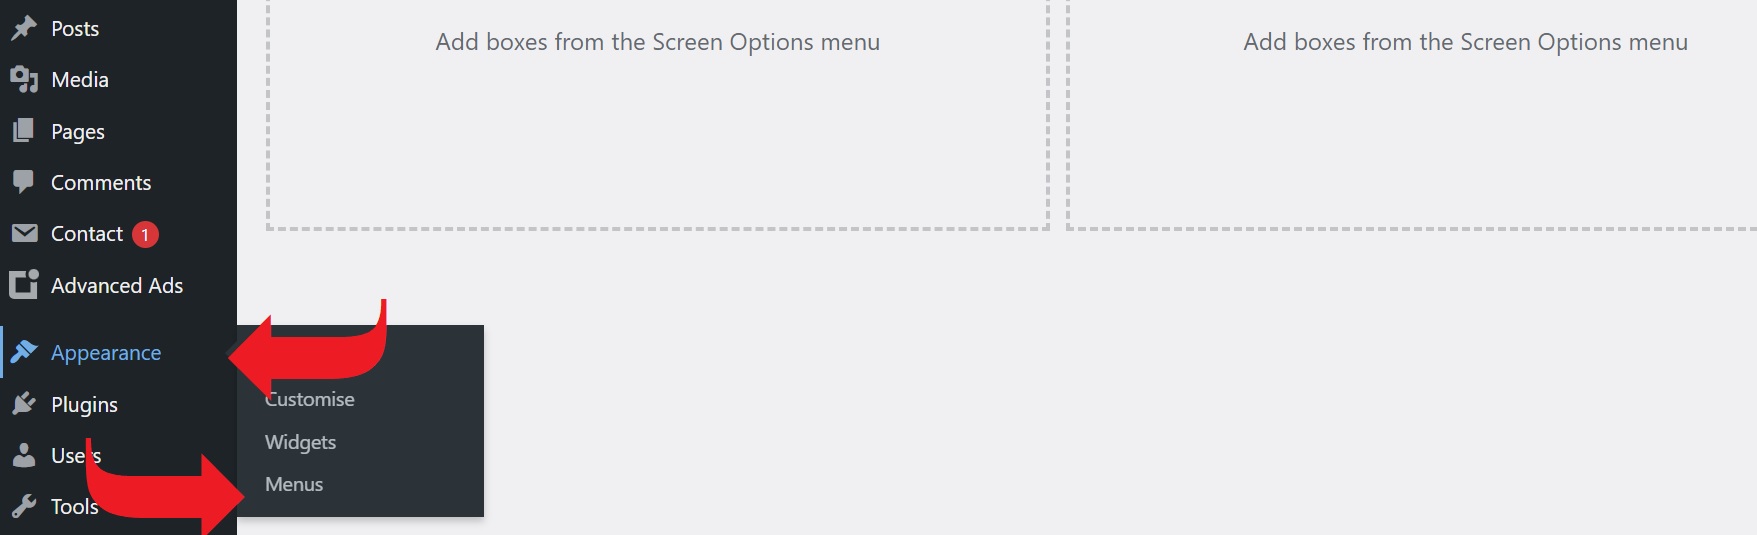
- Navigate to the Menu Editor: In the WordPress dashboard, locate the “Appearance” tab in the sidebar menu. Hover over it, and then click on “Menus.”
- Create a New Menu: If you haven’t already created a menu, click on the “Create a new menu” link. Enter a name for your menu (e.g., “Main Menu”) and click the “Create Menu” button.
- Add Menu Items: On the left side of the menu editor, you’ll see various options to add items to your menu. You can add pages, posts, custom links, categories, and more. Check the items you want to add and click the “Add to Menu” button.
- Organize Menu Items: Once you’ve added items to your menu, you can rearrange them by dragging and dropping them into the desired order. You can also create submenus by dragging items slightly to the right to nest them under a parent item.
- Customize Menu Settings: Expand the “Menu Settings” section to customize how your menu will be displayed. Depending on your theme, you may have options to choose a menu location or customize the menu’s appearance.
- Save Your Menu: After adding and organizing your menu items, click the “Save Menu” button to save your changes.
- Assign the Menu to a Location: If your theme supports multiple menu locations, you’ll need to assign your newly created menu to a specific location. Scroll down to the “Menu Settings” section and select the desired location from the available options.
- Preview Your Changes: Click the “Save Changes” button to apply your menu settings. Visit your website to preview the changes and ensure that your new menu is displayed correctly.
Menu creation in WordPress
Edit or delete a menu in WordPress
- Access the WordPress Dashboard: Log in to your WordPress website and navigate to the admin dashboard.
- Navigate to the Menu Editor: In the WordPress dashboard, locate the “Appearance” tab in the sidebar menu. Hover over it, and then click on “Menus.”
- Select the Menu to Edit: If you have multiple menus created, select the menu you want to edit or delete from the dropdown menu at the top of the page.
- Edit Menu Items: To edit existing menu items, simply click on the item you want to modify. You can change the item’s label, URL (for custom links), or move it within the menu structure by dragging and dropping.
- Remove Menu Items: To delete a menu item, click on the item to expand its settings, and then click the “Remove” link. Alternatively, you can simply drag the item out of the menu structure and drop it outside the menu box to delete it.
- Save Your Changes: After editing or deleting menu items, click the “Save Menu” button to save your changes.
- Delete the Entire Menu: If you want to delete the entire menu, scroll to the bottom of the menu editor page. You’ll find a “Delete Menu” link. Click on it to permanently delete the selected menu.
- Confirm Deletion (if applicable): WordPress will ask you to confirm whether you want to delete the menu. Confirm by clicking the “OK” button.
Related pages